Prepping a vehicle for graphics is a crucial step in ensuring a flawless and long-lasting result. Whether you’re applying a full wrap or just decals, proper preparation can make all the difference. Follow these simple steps to get your vehicle ready for graphics.
Why Prep Your Vehicle?
Prepping your vehicle correctly is essential. If you skip steps or don’t clean thoroughly, the graphics may not adhere properly. This can lead to bubbling, peeling, or early wear. By following the right procedures, you can ensure that your graphics will stick well and look great for a long time.
Step 1: Clean the Vehicle Thoroughly
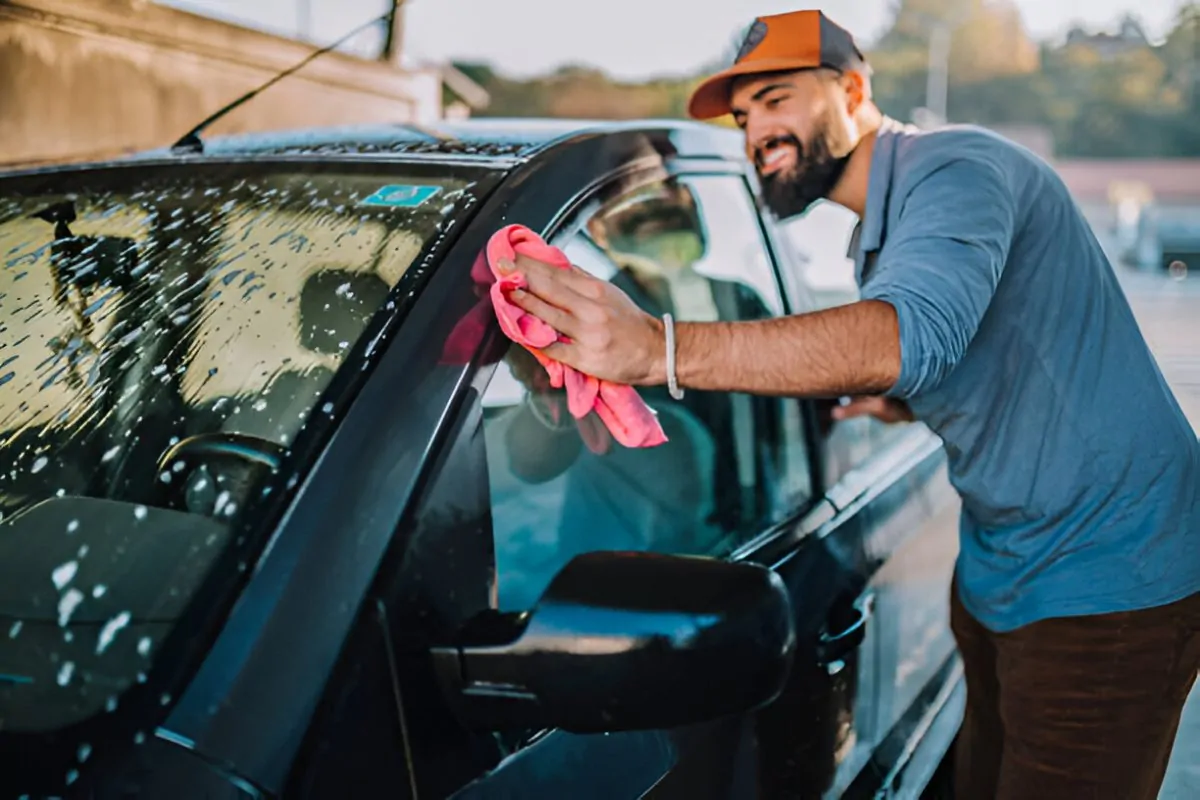
Start by washing your vehicle to remove dirt and grime. Use a mild soap and water solution. Make sure to clean every part of the vehicle, including hard-to-reach areas. After washing, rinse thoroughly and let the vehicle dry completely.
For a deeper clean, especially if the vehicle is very dirty, follow up with isopropyl alcohol. Mix it with water in a 50/50 ratio. Apply this mixture with a lint-free rag. Use one rag to apply the alcohol and another to dry the surface. This will help remove any remaining residues and ensure a clean surface.
Step 2: Remove Residual Adhesive
If you’ve had graphics or decals on the vehicle before, you may find some adhesive residue. To remove this, use a citrus-based cleaner. Apply it to the affected areas and then follow up with isopropyl alcohol. This will help get rid of any sticky leftovers and prepare the surface for new graphics.
Step 3: Inspect the Surface
Before applying the graphics, check the surface carefully. Look for any debris, lint, or moisture that could affect the adhesion. Use a clean, dry cloth to wipe down the surface. Ensure that there are no spots or contaminants left.
If the vehicle has any deep grooves or harsh channels, apply a primer like 3M 94 Vehicle Graphics Primer. This will help the graphics adhere better in these challenging areas.
Where Is the Best Place to Put Decals on a Car?
Step 4: Address Paint and Surface Issues
If your vehicle has freshly painted areas, it’s important to follow the paint manufacturer’s instructions. Allow new paint to cure fully before applying graphics. This usually takes about a week. Fresh paint needs time to dry completely to avoid trapping moisture under the graphics.
For older or weathered paint, clean the surface thoroughly. If there are any rust spots or imperfections, address these before applying the graphics. Buff the surface to smooth out any rough areas and ensure a clean, even application.
Step 5: Final Preparation
For the final step, do a last check to ensure that the surface is completely dry and free from any contaminants. Use a heat gun or torch to remove any lingering moisture if necessary. This step is important, especially if the weather is humid or if you’ve cleaned the surface recently.
Common Mistakes to Avoid
Avoid using cleaners with wax or oils, as these can leave residues that affect adhesion. Also, steer clear of using dirty rags, as they can transfer grime back onto the surface. Make sure not to apply graphics over any uncured or freshly painted areas, as this can lead to issues with adhesion.
How Much Does It Cost to Put Graphics on a Car?
Conclusion
Prepping a vehicle for graphics is a straightforward process, but it requires attention to detail. By cleaning thoroughly, removing any residual adhesive, inspecting the surface, and addressing paint issues, you can ensure that your graphics will adhere properly and look great.
Get Professional Help
At Dr. Ralph’s Automotive Services Center, we understand how important it is to prepare your vehicle correctly for graphics. Our team of experts is here to help you with every step of the preparation process. Whether you need a thorough cleaning, adhesive removal, or professional advice, we’ve got you covered.
Get Service: Windshield Repair & Car Mechanic in Philadelphia
Ready to ensure your vehicle graphics look their best? Contact us today to schedule a consultation or get a quote. Our skilled professionals are dedicated to delivering high-quality results and making sure your vehicle is perfectly prepped for stunning graphics.
Don’t let improper preparation ruin your graphics. Trust Dr. Ralph’s Automotive Services Center to get the job done right. Reach out to us now and make sure your vehicle gets the perfect start!
Can You Put Designs on Your Car?
FAQs on Preparing a Vehicle for Graphics
1. Why is vehicle preparation crucial for graphics?
Proper preparation ensures the graphics adhere well and last longer. It prevents issues like bubbling and peeling by ensuring a clean, smooth surface.
2. Can I use any cleaner for the vehicle?
No, use mild soap, water, and isopropyl alcohol. Avoid cleaners with wax or oils as they can affect adhesion.
3. How do I remove old adhesive residue?
Use a citrus-based cleaner to remove adhesive residue, then follow up with isopropyl alcohol to eliminate any remaining stickiness.
4. How long should I wait after painting?
Allow new paint to cure for at least a week before applying graphics. This prevents issues with adhesion due to moisture in uncured paint.
5. What if there are deep grooves on my vehicle?
Apply a primer like 3M 94 Vehicle Graphics Primer to deep grooves or harsh channels to ensure better adhesion and a smoother finish.
6. How can I ensure the surface is dry?
Check the surface for any moisture and use a heat gun if needed. Ensure the vehicle is completely dry before applying graphics to avoid adhesion issues.
7. What should I do if the vehicle is very dirty?
Wash the vehicle thoroughly with soap and water. After drying, clean the surface with a 50/50 mix of isopropyl alcohol and water for a complete clean.
How Long Does It Take to Fix a Bent Frame on a Car?
